
Well, honestly, I wasn’t expecting to be posting this anytime soon. But I got some great news and advancements with the project to show you all. I’m really excited to show you all my progress so far. This blog post is an updating post. Meaning this post will continue to have updates in the future. When you see a strikethrough, that usually means there were edits made there.
New Design
Well, so far, Project: EnAble has had a new design for each new version. And this one is no different. Here are some of the key highlights I am ready to show you about some of the new design advancements. **This blog will be getting updated for every new part that is designed**
Inner Shell System
Something really cool about this year is the implementation of the inner shell system. This is a small open frame that goes inside the main guant/shell. This frame is what easily holds the Touchscreen, Raspberry Pi Zero 2W, Battery Pack System and the Microbit. This also holds a lot of the wiring required and is what runs the entire rest of the prosthetic. We are going to be referring to this part and the “gaunt” as shells now as this is the key frame system that can house any sort of prosthetics made with Project: EnAble. This means not only could this frame system be used with prosthetic hands as it has been for the last few years, but it will also be the frame system that could be used for something like a prosthetic leg.
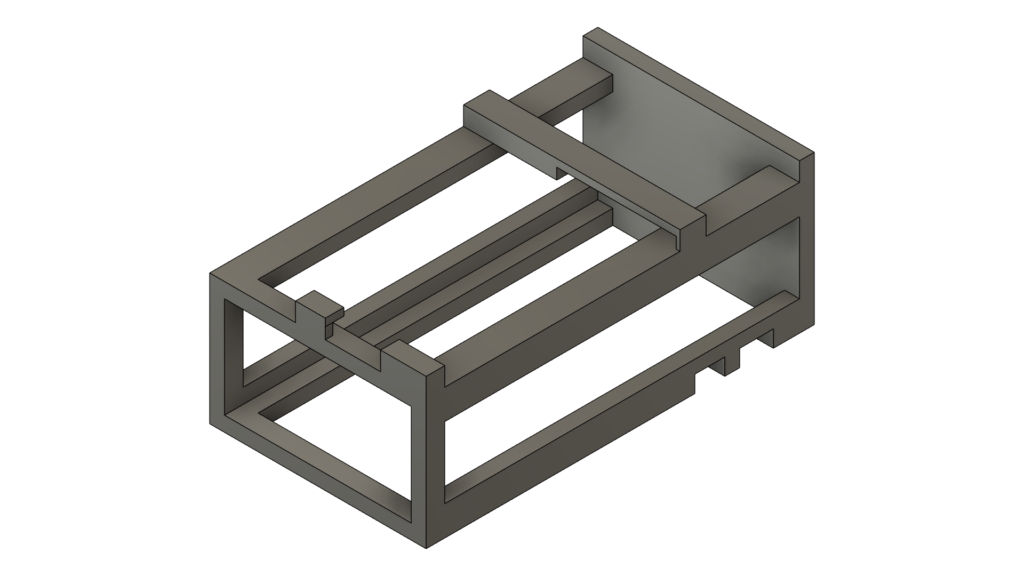
What you are seeing here is the inner shell/frame. It uses a series of magnets that will then slide into the outer shell and uses small earth magnets to secure the shell in place. This specific shell houses the Raspberry Pi (now RPi Zero 2W) version of Project: EnAble.
Outer Shell
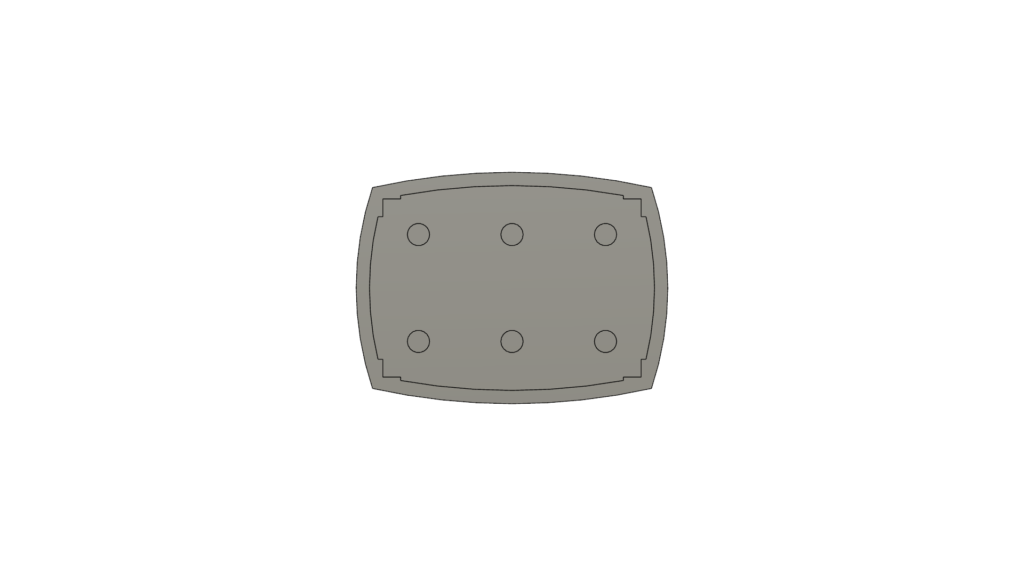
Now that we have discussed the Inner Shell System, we can discuss the outer shell. As you read in the inner shell system, this outer shell is what encases the inner shell and is the component that you might see either as a gaunt/arm or as the upper leg/thigh. This allows the project to connect to the rest of the modules in a similar system to v3.0, allowing you to add modules such as motor modules (for fingers) or other sensor modules. With using smaller parts and barely expanding the outer shell compared to last year, we are able to pack in a lot more into the project. Now instead of having to have separate modules for the Raspberry Pi and the Microbit. We are able to compact many more parts within one area.
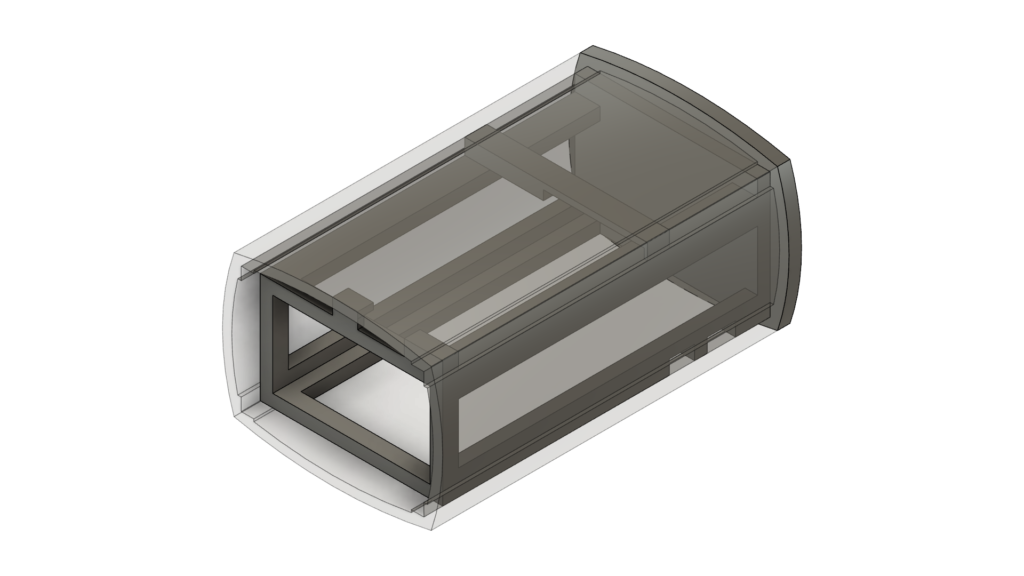
Though the image may seem confusing, what you are seeing is the overall shape and the area that the inner frame will slide into and then magnetize to the inside. The holes will contain the earth magnets that secure the overall project. **this is still a work in progress**
Overall View
I know it is not much right now, but the crazy part is that these two designs have only taken me a few days to put together. Hopefully I will be able to get a lot of the design process for everything else done (for the most part) in the next few weeks, as I will have them off thanks to Christmas/Winter Break. I am a little worried about making the hand look much more realistic compared to last year and all that. However, though it will take time, I am very happy with how much I am getting done. I still am getting more done than I originally planned.
If you would like to see more posts like this and relating to the project, you can find them here. This blog will be updated as I get more designs done, so make sure to come back to see what changes we can do in the next few weeks!
That’s sounds really cool and I can’t wait to see more updates